How to add manually columns to Gridview in ASP.Net
If you want to become a good programmer in ASP.Net, so you must have to get knowledge about Gridview control in ASP.Net.
If bind Gridview control with Database, the Gridview control shows/Display the all columns of Database,
But some time we not need to show some column to user so we have to bind all column manually.
STEP – 1 For add manually column to Gridview first set the autogeneratecolumn property to false.
AutoGenerateColumns=”False”
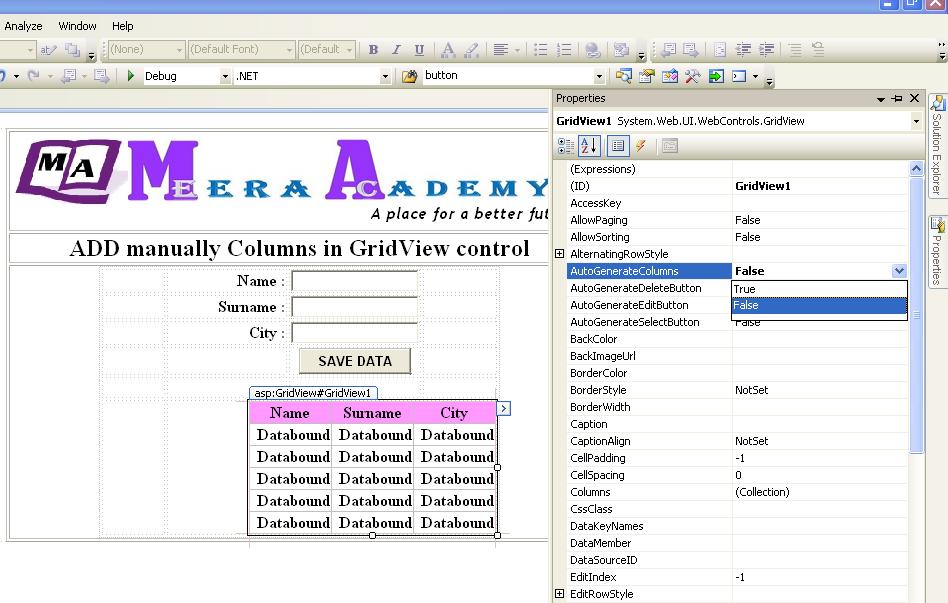
STEP – 2 After set AutoGenerateColumns=”False” we have to write below code in source of Gridview control for add manually column.
<asp:GridView ID=”GridView1″ runat=”server” Height=”216px” Width=”280px” AutoGenerateColumns=”False”>
<Columns>
<asp:BoundField HeaderText=”Name” DataField=”name” />
<asp:BoundField HeaderText=”Surname” DataField=”surname” />
<asp:BoundField HeaderText=”Address” DataField=”Addres” />
</Columns></asp:GridView>
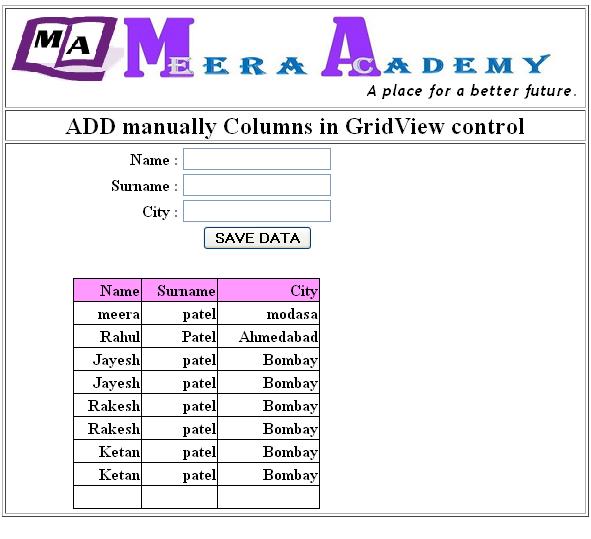
Now run your website and get output with gridview manually column.