An assembly is the primary building block of a .NET Framework application.
It is an Output Unit. Assemblies contain MSIL code.
– Assembly physically exist as DLLs or EXEs
– One assembly can contain one or more files
– The constituent files can include any file types like image files, text files etc. along with DLLs or EXEs
– When you compile your source code by default the exe/dll generated is actually an assembly.
Manifest: Assembly manifest is a data structure which stores information about an assembly
Assembly Metadata is stored in the Manifest.
Metadata: is a data about data.
There are 2 types of assemblies.
1. Private Assembly
2.Shared Assembly (Public) – C:\windows\assembly
By default, assemblies are private.
A private assembly is used only by a single application, and is stored in application folder, or in a subfolder.
When the .net code gets compiled it generates an assembly which is stored in bin folder.
Shared assemblies (also called strong named assemblies) are copied to a single location (usually the Global assembly cache)
– Shared assembly can be used by multiple application and has a strong name.
– Strong name indicate the assembly, Version number, culture identity and public key token.
Now, We learn how to create assembly in asp.net c#.
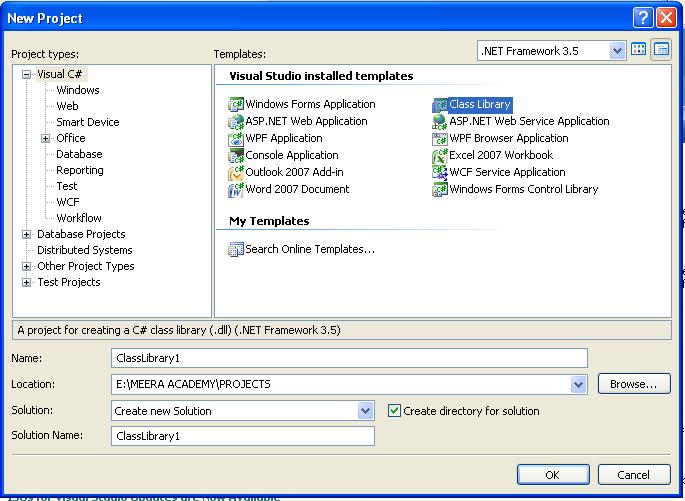
STEP 1 – First Start the Visual Studio and Create New Class Library Project.
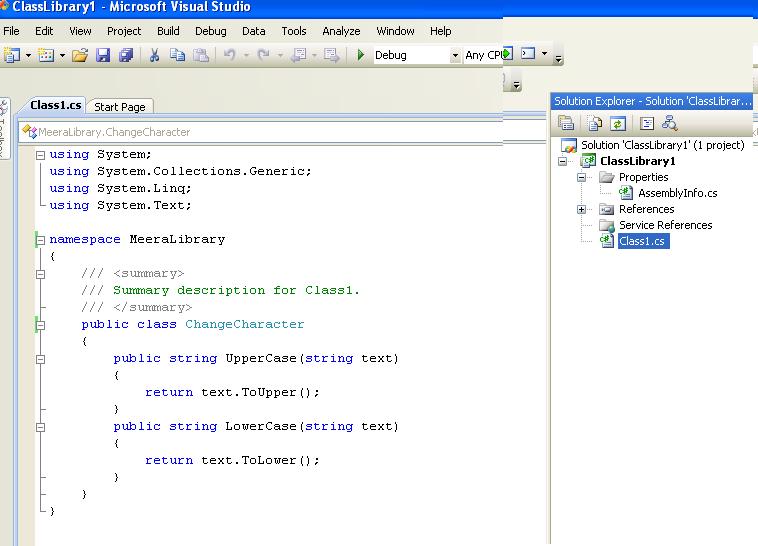
STEP 2 – Now we have created Class Library, write below code in Class1.cs
using System;
using System.Collections.Generic;
using System.Linq;
using System.Text;namespace MeeraLibrary
{
/// <summary>
/// Summary description for Class1.
/// </summary>
public class ChangeCharacter
{
public string UpperCase(string text)
{
return text.ToUpper();
}
public string LowerCase(string text)
{
return text.ToLower();
}
}
}
After doing this Build an application, for generate the ClassLibrary1.dll
The ClassLibrary1.dll file automatically generated by compiling the application in Your Application/Bin/Debug Folder.
STEP 3 – Now use the assembly, create a new web application. then add ClassLibray1.dll by add reference to Bin Folder.
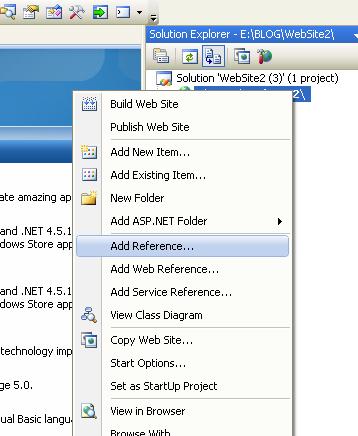
After creating a New web application –> Right Click on Project —> Add Reference
Select Browse option to select the ClassLibrary1.dll which you created before.
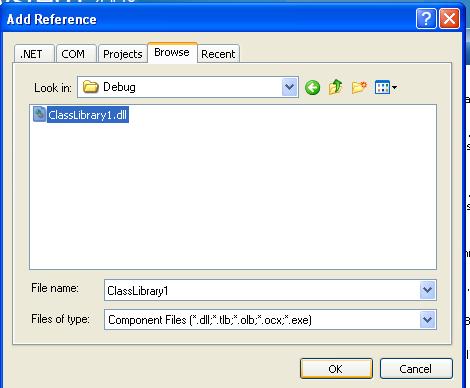
– Now you have added ClassLibrary1.dll in Bin Folder.

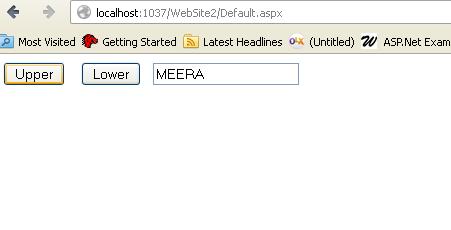
Write the below code for design web form:
<body>
<form id=”form1″ runat=”server”>
<div>
</div>
<asp:Button ID=”Button1″ runat=”server” onclick=”Button1_Click” Text=”Upper” />
<asp:Button ID=”Button2″ runat=”server” onclick=”Button2_Click” Text=”Lower” />
<asp:TextBox ID=”TextBox1″ runat=”server”></asp:TextBox>
</form>
</body>
write below code on Button Click Event at code behind page:
protected void Button1_Click(object sender, EventArgs e)
{
MeeraLibrary.ChangeCharacter mm = new MeeraLibrary.ChangeCharacter();
TextBox1.Text= mm.UpperCase(TextBox1.Text);
}
protected void Button2_Click(object sender, EventArgs e)
{
MeeraLibrary.ChangeCharacter mm = new MeeraLibrary.ChangeCharacter();
TextBox1.Text = mm.LowerCase(TextBox1.Text);
}
I hope you will enjoy this asp.net tutorials about creating assembly.