Here, In this ASP.Net tutorials we are going to learn how to use CellSpacing and CellPadding on CheckBoxList Control in ASP.NET with C#.
STEP 1 – Design the ASP.Net web page with One CheckBoxList Control with Two Button Control :
<table style=”width: 464px”>
<tr>
<td colspan=”2″ style=”height: 24px”>
<strong><span style=”font-size: 14pt; color: #6600cc; font-family: Arial”> CellPadding
and CellSpacing – CheckBoxList</span></strong></td>
</tr>
<tr>
<td colspan=”2″ style=”height: 24px; text-align: center”>
<asp:Button ID=”Button1″ runat=”server” OnClick=”Button1_Click” Text=”CellPadding ” Font-Bold=”True” Font-Size=”Medium” />
<asp:Button ID=”Button2″ runat=”server” OnClick=”Button2_Click” Text=”CellSpacing” Font-Bold=”True” Font-Size=”Medium” /></td>
</tr>
<tr>
<td style=”text-align: center”>
</td>
<td style=”text-align: left;”>
<asp:CheckBoxList ID=”CheckBoxList1″ runat=”server” BorderColor=”#8080FF” BorderStyle=”Solid” BorderWidth=”3px” Font-Bold=”True” ForeColor=”Blue”>
<asp:ListItem Value=”1″>ABC</asp:ListItem>
<asp:ListItem Value=”2″>DEF</asp:ListItem>
<asp:ListItem Value=”3″>GHI</asp:ListItem>
<asp:ListItem Value=”4″>PQR</asp:ListItem>
<asp:ListItem Value=”5″>STU</asp:ListItem>
<asp:ListItem Value=”6″>XYZ</asp:ListItem>
</asp:CheckBoxList>
</td>
</tr>
<tr>
<td style=”width: 257px; height: 22px; text-align: center”>
</td>
<td style=”width: 257px; height: 22px; text-align: center”>
</td>
</tr>
</table>
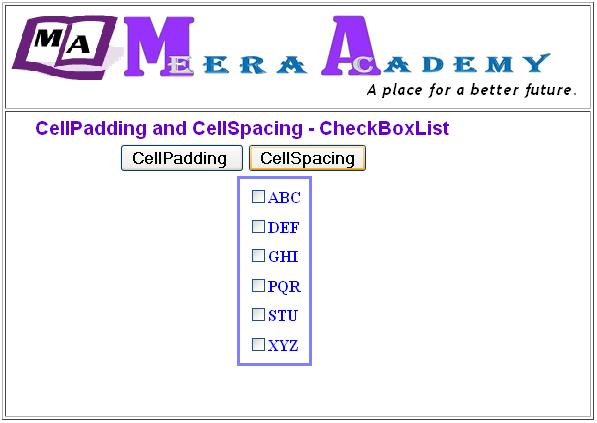
– The ASP.Net Example of CheckBoxList CellSpacing and CellPadding output is:

STEP 2 – Write the below code on code behind page of ASP.Net webform for CellSpacing and CellPadding.
protected void Button1_Click(object sender, EventArgs e)
{
CheckBoxList1.CellPadding = 7;
}
protected void Button2_Click(object sender, EventArgs e)
{
CheckBoxList1.CellSpacing = 7;
}
– The ASP.Net Example of CheckBoxList CellSpacing output is:

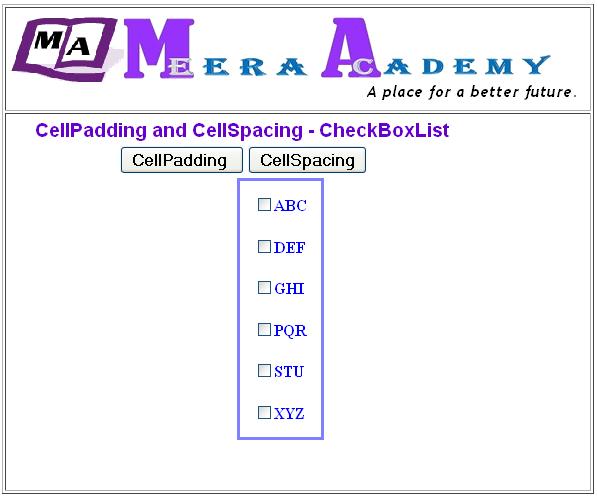
– The ASP.Net Example of CheckBoxList control CellPadding output is:

– Hope this ASp.Net Example of CheckBoxList control CellPadding and CellSpacing will help you…….