In this ASP.Net post we will learn how to apply style with CssClass programmatically on CheckBoxList Control in ASP.Net
– There are many way to apply style on web control.
STEP 1 – Design the ASP.Net webpage for CssClass Example:
<table style=”width: 464px”>
<tr>
<td colspan=”1″ style=”width: 257px; height: 24px”>
<strong><span style=”font-size: 14pt; color: #6600cc; font-family: Arial”>Apply CssClass
on CheckBoxList</span></strong></td>
</tr>
<tr>
<td style=”width: 257px; height: 24px; text-align: center;”>
<asp:Button ID=”Button1″ runat=”server” OnClick=”Button1_Click” Text=”View CheckBoxList” Font-Bold=”True” Font-Size=”Medium” /></td>
</tr>
<tr>
<td style=”width: 257px; height: 22px; text-align: center;”>
<asp:CheckBoxList ID=”CheckBoxList1″ runat=”server” Width=”168px”>
</asp:CheckBoxList></td>
</tr>
<tr>
<td style=”width: 257px; height: 22px; text-align: center”>
</td>
</tr>
</table>
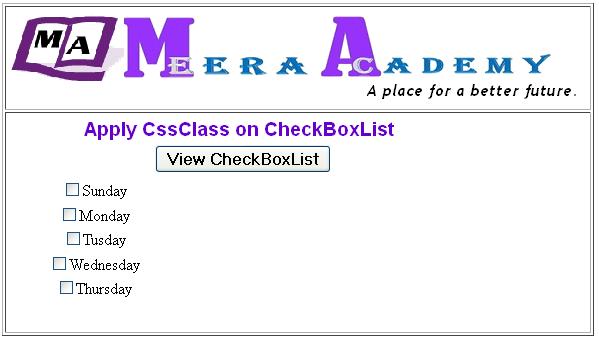
– ASP.Net Example of CssClass CheckBoxList Control output is:

STEP 2 – Create the CssClass in Head Section of webform HTML code:
<head runat=”server”>
<title>CheckBoxList CssClass in ASP.Net</title>
<style type=”text/css”>
.CListStyle
{
font-family:Courier New;
font-weight:bold;
color:Red;
font-size:Xlarge;
}
</style>
</head>
STEP 3 – Write below code on Button Click Event at code behind page of ASP.Net:
protected void Page_Load(object sender, EventArgs e)
{
string[] Days = { “Sunday”, “Monday”, “Tusday”, “Wednesday”, “Thursday” };
CheckBoxList1.DataSource = Days;
CheckBoxList1.DataBind();
}protected void Button1_Click(object sender, EventArgs e)
{
CheckBoxList1.CssClass = “CListStyle”;
}
– The ASP.Net CheckBoxList CssClass Example output is:

– Here on above Example we learn apply CssClass programmatically, The Same thing wil can do without progammatically in ASP.Net.
– Just go to the CheckBoxList control Property tab and write the Class name on CssClass property.
– Hope this asp.net example of use CssClass on CheckBoxList control will help you……