PHP installation
This PHP tutorial we will learn PHP installation process step by step, and after installation learn how to create PHP script file and how to run or execute php script file on server.
Download WampServer Here : Downlaod Wampserver link
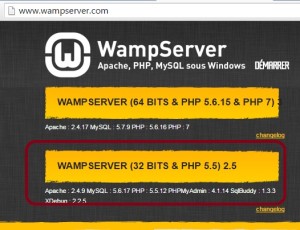
After successfully download Wampserver install setup run as administrator.
After Successfully Installed Wampserver open wampserver as like below :
All Programs — >> WampServer –>> Start WampServer
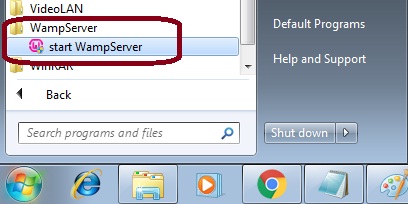
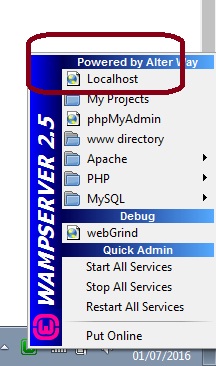
After start the Wampserver show the wampserver icon on taskbar near to clock icon at right bottom of windows screen.
Below menu you can Start All Services and Stop All Services of wampserver.
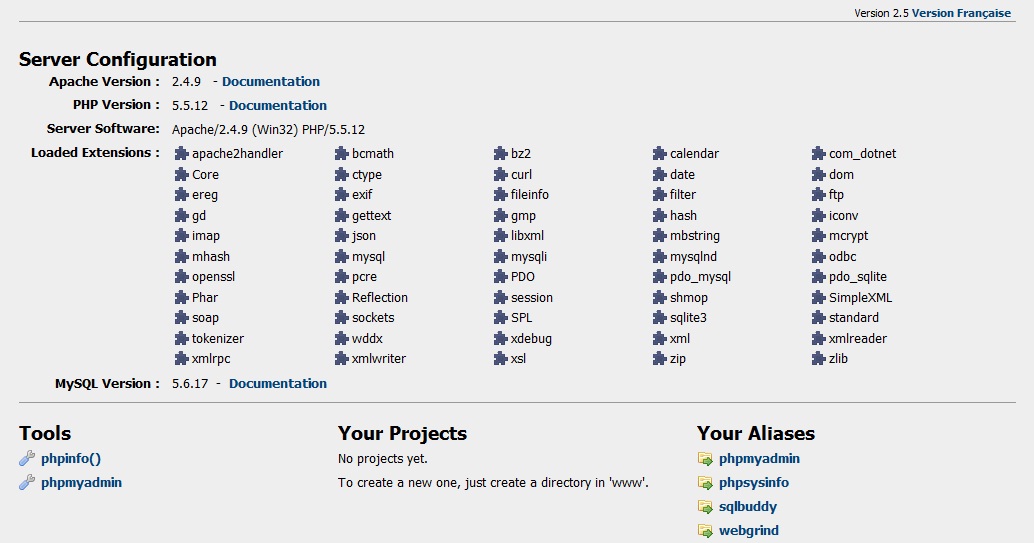
There is a top most option “Localhost”, which shows the server configuration.
Now Click on “Localhost” you have below screen for server configuration. Verson configuration PHP version and Apache Server Version configuration which we have already installed on our computer system.
Here, the “www directory” option define the path where we can save the PHP file.
The default location path is “C:\wamp\www“.
We must save all PHP page at in “www” folder.
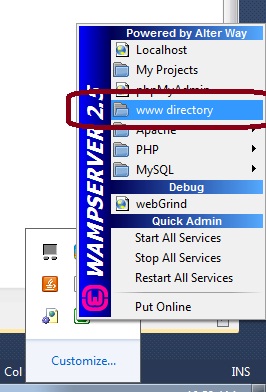
When we click on “www directory” option on above menu it will locate directly to www folder in C drive. where we have to save all PHP file.
PHP Wampserver by default create a file index.php in www folder. Where we run the index file on browser it look like : http://localhost/index.php
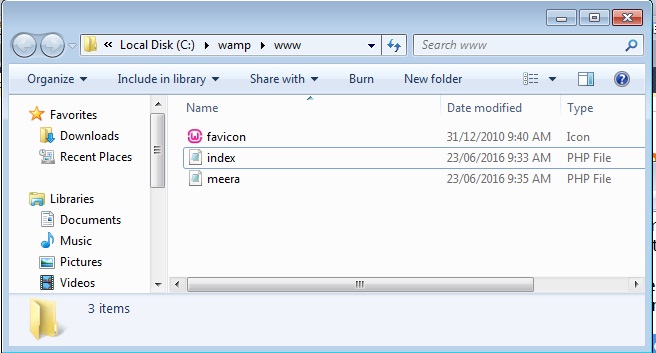
Now, If you want to create new PHP file page, it must be save in www folder.
Suppose we create new file “meere.php” in www folder. if we launch this file then we must write like : http://localhost/meera.php
If we want to create new website with new name then create new folder with your website name in www folder like www -> MyWebsite. Now save all PHP pages in MyWebsite folder. If we want to launch this pages we should write like :
http://localhost/MyWebsite/index.php.
Watch this php video tutorial for installation php process.
This php tutorial very help full for php beginners to install and setup php environment for php web development.